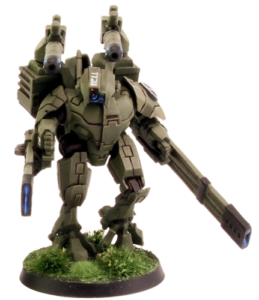
How I painted Tau in a forest theme

The greater good

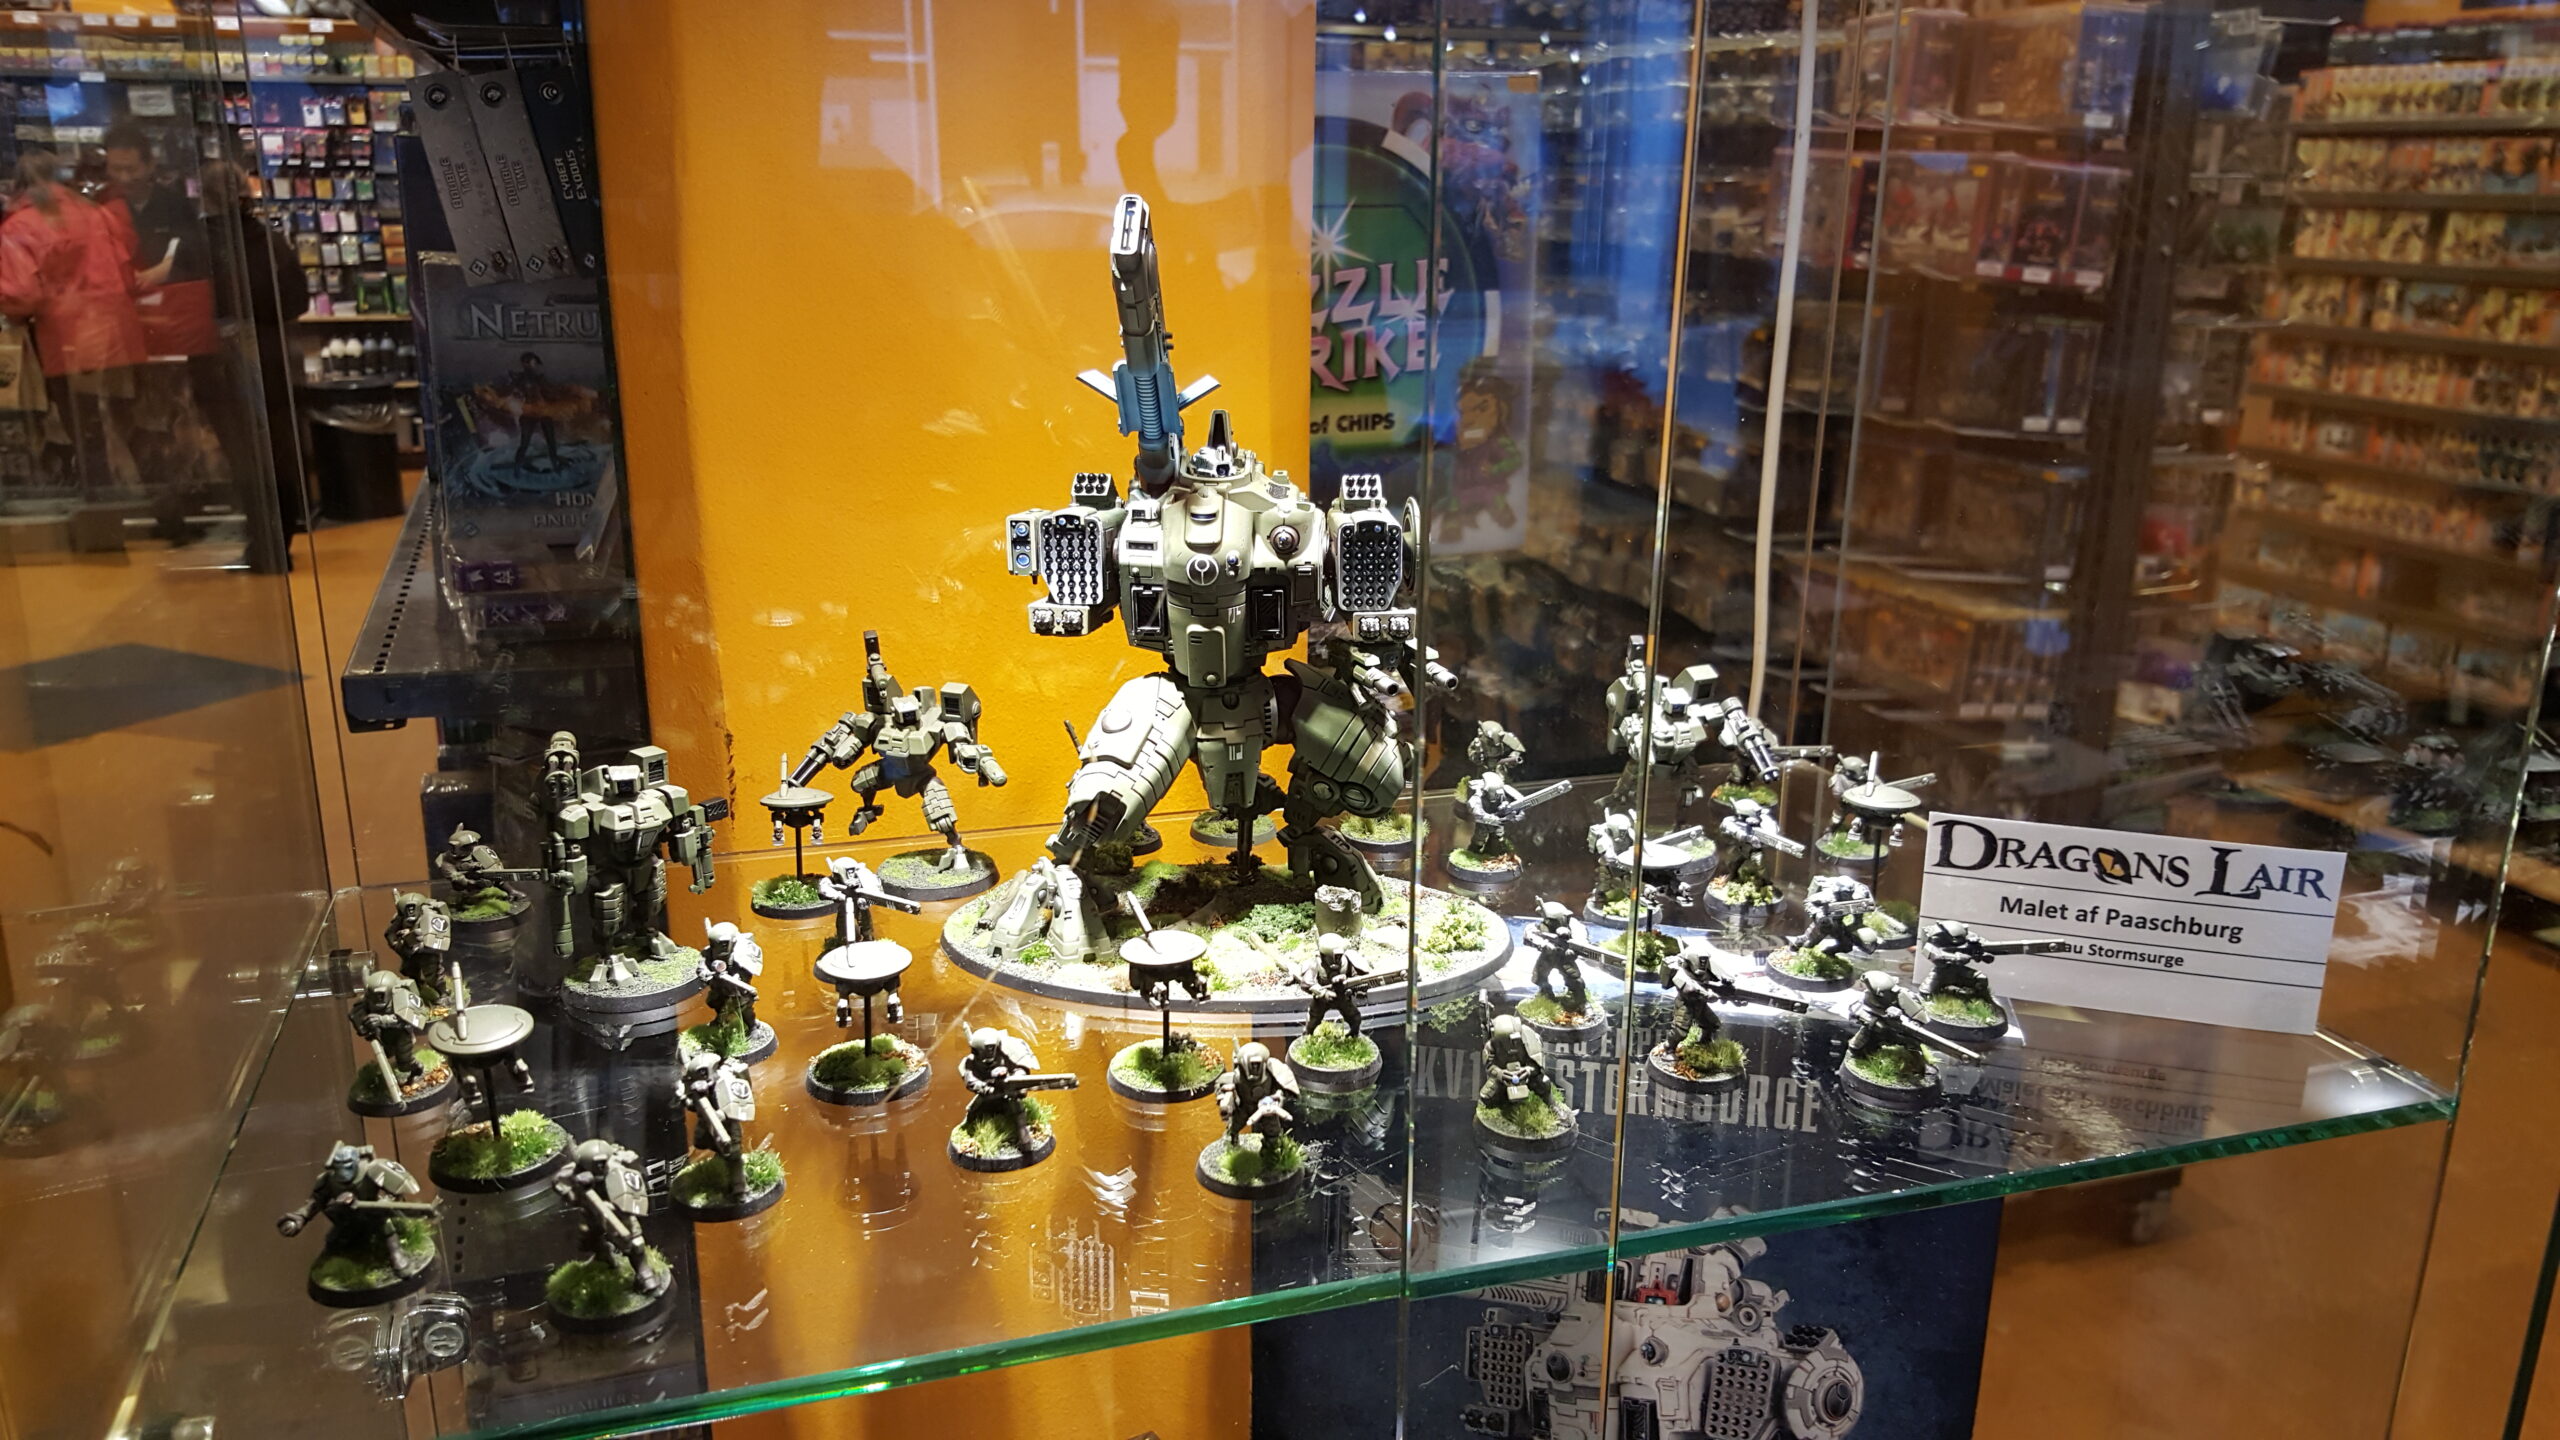
This is the story of my painted tau project. Back in 2012, I made an impulsive purchase. I bought a secondhand play-ready Tau army, or so I thought. I made the mistake of assuming that Play-Ready also meant painted. Yes, it was a very naïve decision on my part. Nevertheless, so it came to be, I received a half-painted army, some primed, some bareback plastic, and no mould lines removed. Worse still, upon opening the package, I witnessed what can only be described as a Tau massacre caused by rough transport, inadequate resin preparation and no pinning. Broken joints, bits everywhere, paint flacking off… an unfortunate state.

In disbelief, I pulled myself together and thought, “Stop whining and start from scratch.”

A plan began forming in my head to make a decent-looking and dully painted Tau army as fast as possible—a challenge to force me to snap out of the bad habit of being a slow painter. 

Now that I have finally finished my Project, I want to share how the army came to be. This is not a step-by-step tutorial on painting tau, but rather an inspiration to how I did it, hopefully inspiring other painters to do something similar.

The Plan

  • Remove all mould lines.
  • Choose a fast-to-paint color theme.
  • Paint details only where effective.
  • Use simple painting techniques and shortcuts wherever possible.
  • Keep the bases simple.

Preparing the mini's

Striptease – Removing paint

Stripping painted models is easy. Not fast, but easy! I started by snapping all the joints that I could and dumped the painted tau minis into my ultrasonic cleaner filled with 93% ethanol/methylated spirits (rubbing alcohol). After a 10-minute sonic bath, using an old toothbrush, I scrubbed all the paint right off. Easy!

The vehicles were put in a plastic bag filled with the same alcohol solution and left for about an hour in the kitchen sink. The paint can be scrubbed right off.

Removing paint from Resin

For the Forgeworld XV9 suit, the previous owner had not removed the mould release before base coating, resulting in fragile and chipping paint.

The resin used by Forgeworld cannot survive the same alcohol treatment as regular plastic. It turns soft/rubbery. Therefore, these had to be cleaned the only way I knew how. I scrapped most of the primer off with a fresh blade on my scalpel. I used fine sandpaper (800-1000grit) for larger areas to clean the surface. This also dulled the surface, which is perfect for priming.

This was a very time-consuming process, which could have been avoided if the suits had been washed with a mild soap before priming. Remember to rinse and scrub those resin minis!

Mould lines, we meet again!

Oh, how I hate removing mould lines. However, nothing is worse than a mould line ruining a decent paint job. Therefore, they were thoroughly cleaned with a file, knife, and sandpaper (600grit – 1000grit).

Quick tip:

To remove the annoying dents/holes sprue sometimes leaves behind, fill them with metal glue/instant glue. Let it harden, and sandpaper the surface smooth. 

For larger holes and gaps use plastic filling or putty.

Suit up!

Lacking crisis suits, I purchased some to add to the army. The XV8 suits in the artwork look majestic, elegant and menacing, unlike the real-deal miniature.

The Suits, therefore, posed a problem. The problem is they are too small, they need a pelvis and the vents are placed too low, which does not help the miniatures look. Let’s face it; they are static and ugly compared to the Forgeworld XV9 suits and no way near as cool looking as pictured in the artwork. What a shame!

But after reading many good how-to articles on advancedtautactica.com (a fantastic Tau-sharing community you should check out if you haven’t already), I was convinced that this could be fixed with advancedtautactica.com (an amazing Tau-sharing community you should check out if you haven’t already), I was confident that this could be fixed with a bit of patience.

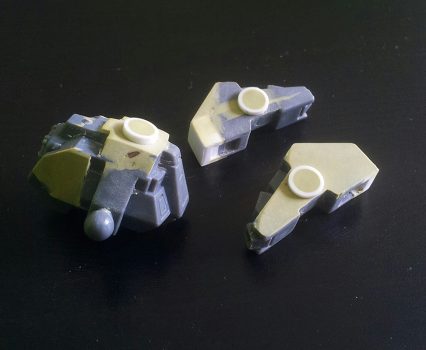
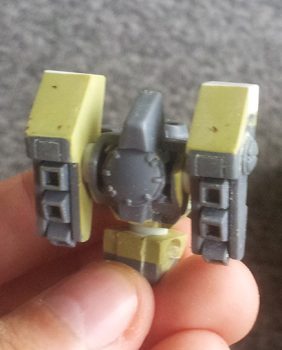
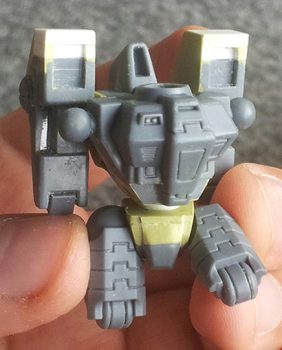
I started by cutting off the vents, and adding 4mm extra height, smoothing it all out with milliput. Next, I cut the pelvis and smoothed out the torso. The pelvis was quite a challenge and ended up as three different-looking pieces. But they would have to do.

All that remained was to pose the models and magnetise the weapons/gear for added playability.

Painting a Forest Theme for Tau

I chose a forest theme because it is easier to achieve a good result with green than with the original desert/yellow colours. Green covers better, and it is faster to achieve a clean look, which was perfect for my painted tau.

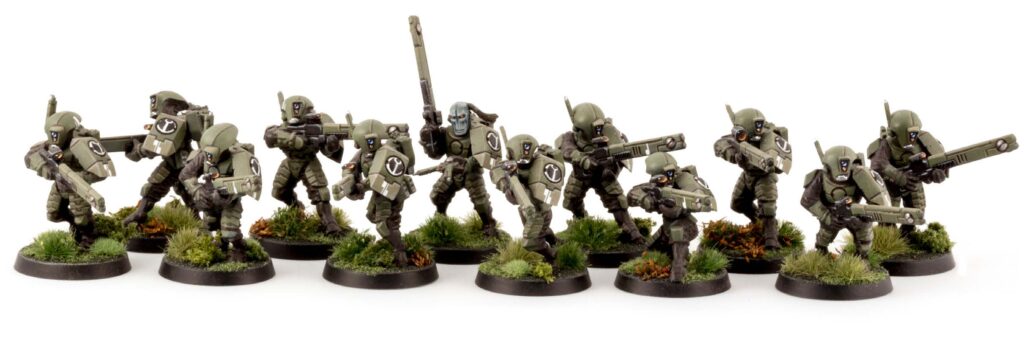
A Painted Tau fire warrior squad

Priming

For these miniatures, which are meant for gaming, I find Citadels Chaos Black spray the best and most durable. Two thin coats should suffice; once painted, they are ready to be pushed across the battlefield without fear of chipping.

If I had decided on a brighter theme, I would have primed with Vallejo’s Grey or White Primer using an airbrush. It is a bit more tedious, as you have to let it dry thoroughly, or the primer will not stick to the model. Let it dry for 24 hours, just to be sure!

Trust your Armor

As most of the minis are covered in armour, I chose to use an airbrush to basecoat with the armour colour and lightly highlight using a basic zenithal style.

To shade all the panel lines, I painted unthinned Burnt German black brown directly into the panel lines and quickly wiped off the excess paint with my finger. By only working on a small area at the time, the paint does not have time to dry and is easily removed this way. However, be fast; I experienced the difference between success and failure. It is a matter of seconds!

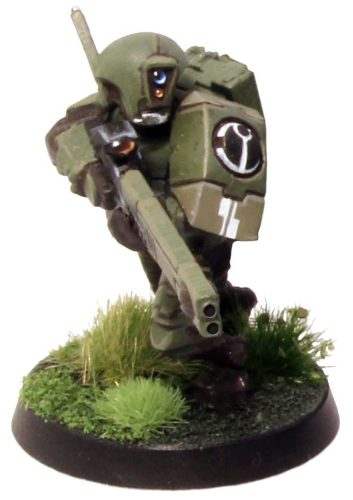
The armour plates were then edge-highlighted along all panel lines. To break the pure green, I added a second brighter green colour. I used the highlight colour as a base coat and highlighted it with a lighter grey. For the Firewarriors, I choose the most significant part of the armour, the shoulder pad.

The Emperor’s new clothes

The cloth was then base-coated by brush, being careful not to mesh up the finished armour plates. Afterwards, shade with Nuln Oil (remember the importance of shaking those washes, they can dry shiny if you forget! I Learned that the hard way). Staying with my theme of a quickly painted army, I highlighted the cloth further. The armour gets all the attention anyways.

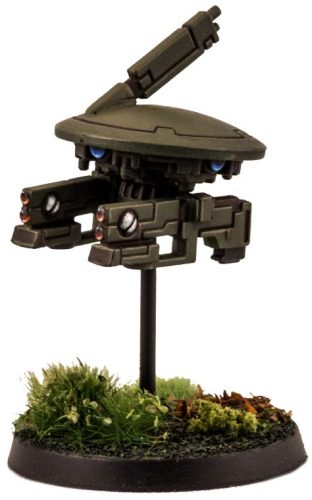
This paint process is also used on the Suits. To avoid the suits being all green, I used this dark brown to distinguish different armour parts, keeping it fresh.

Oh no, not the eyes!

I love to paint gems. With little effort, you can achieve a stunning result. Although most Tau lenses are tube-shaped rather than plain flat surfaces, the eyes/lenses were painted as gems. It proved to be faster to paint these tubes/circles, as there is less surface to mess up.
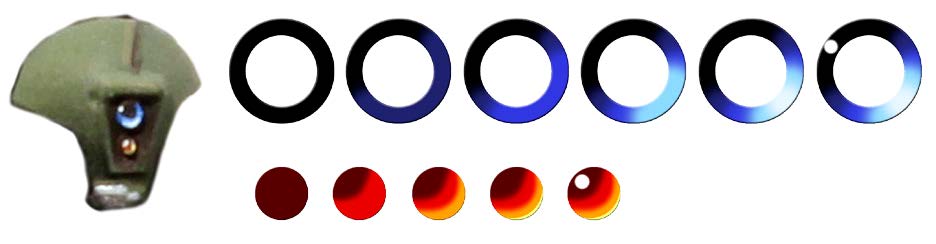
For the blue lenses, Paint half of the circle the darkest colour, and with the rule of Two-thirds, paint Two-thirds of the colour with a brighter colour. Two-thirds of that is brighter until you end up almost white. Add a white dot in the dark area, and it is finished! The dot makes all the difference! The red lenses are painted similarly, but it was so tiny that it was possible to skip several highlights. I did not bother with black but went straight for my darkest colour. Just slap on some paint while trying to follow the rule of 2/3s. The white dot will again pull it all together.

I want it painted Black

I intended to have a stark contrast colour on all the weapons to distinguish them from the model itself, and what could add more contrast than black itself? With this in mind, I slapped on some black paint on the panels deemed “not interesting” and edge highlighted a few panels up to pure white for that shiny effect. Fast and simple.

Larger Areas of Black proved to be a challenge. While a perfectly smooth blend would look fantastic, I did not want to be caught in my “it must be perfect” trap. The “blends” I achieved look decent at a distance, which was the point with this army.
Metalwork

I use metal to add a bit of extra detail, sometimes using it to draw the eye to a specific part of the mini or to break up a large area. Nevertheless, I always use it sparingly, both regarding saving time and because metal can quickly dominate a paint scheme with its natural (metal pigment) reflections. The metal parts were painted with a basecoat, wash and highlight.

Last few details

Small areas like the chinstrap and the antenna top on the Firewarriors were painted metal. For the unit markings/glyph on the Firewarriors, I painted these on with pure white. For the vehicles, I mostly used transfers.

From the ground up

The bases might look complex but are super simple to create. They consist of some standard green flock, lots of Silflor grass tufts, and scattered materials and branches from a nearby forest.
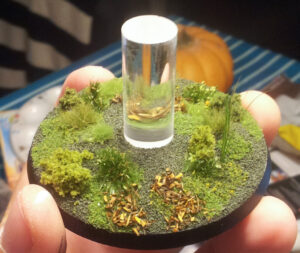
I started by glueing the flock on the base before the mini is primed, painting it black in the basecoat process. This first colour comes from the overspray from the green armour basecoat and highlight. Then, I add the green flock in random patches for some interesting green segments.

The branches were painted dark brown, and I dry brushed the “trees” by adding grey to the mix. Once done with the branches, I added as many different Silflor turfs as I had available (which proved to be many). The mixture ended up looking floral and exotic. I also added some leaves and other scatter material I had available.
Wow, you made it to the end of my Painted Tau post

Some of my other projects might be of interest since you made it this far 🙂
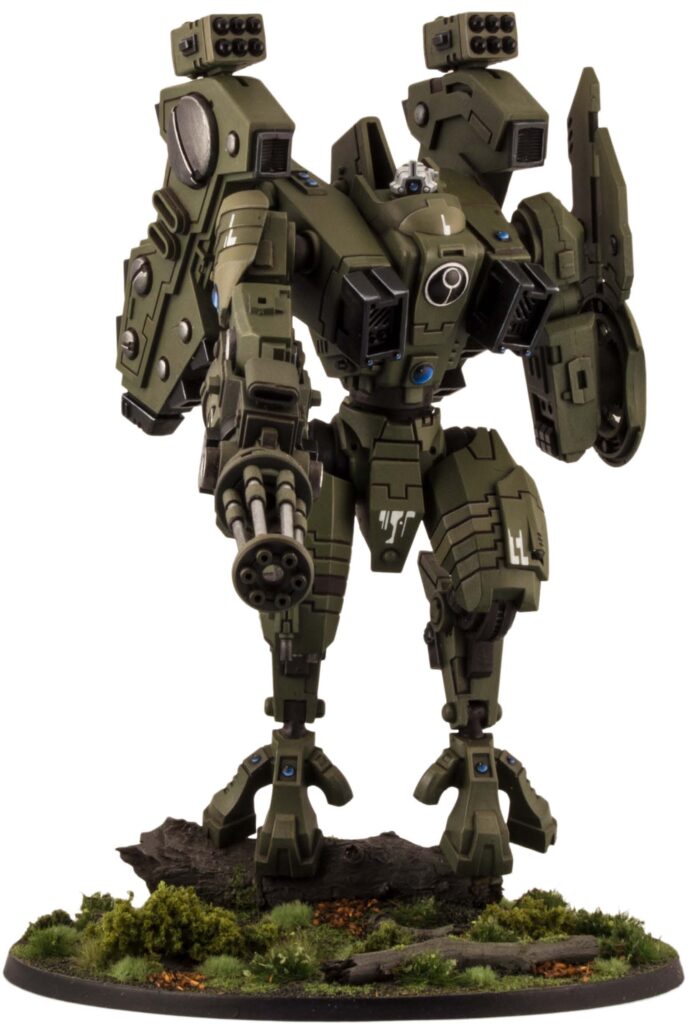
A Painted Tau Riptide model, painted in a green forest theme.

Paints Used for my Painted Tau

Main Armor: (B) VMA Russian Green, (H) VMA Lt. Grey Green
Light armour Panels: (B) Lt. Grey Green, (H) VMA US Grey Light
Black Panels: (B) VMA Black, (H) VMA White
Cloth: (B) VMC Burnt German Black Brown, (W) GW Nuln Oil
Blue Gems/lenses/Glass: (B) VMC Blue + Black, (H) VMC Blue (H+) add White to the mix
Red Lenses: (B) VMC Burnt Cad. Red, (S) VMC Hull Red, (H) VMC Orange, (H+) VMC Light Yellow
Metal: (B) VMC Oily Steel, (W) AP Ink Strong Tone, (H) VMA Aluminium

Basecoat (B), Shade(S), Highlight (H), Extra Highlight (H+), Wash (W), Vallejo Model Color (VMC), Vallejo Model Air (VMA), Citadel – Games Workshop (GW), Army Painter (AP)